この記事は更新から24ヶ月以上経過しているため、最新の情報を別途確認することを推奨いたします。
方法としてはPCにサインオンをして変更する方法とPowerShellで変更する方法の2通りあります。
今回はPCにサインオンして変更する方法を記載致します。(VMのOSはWindowsです。)
1.Insght(分析情報)を有効化しているVMに接続し、コントロールパネルを開きます。
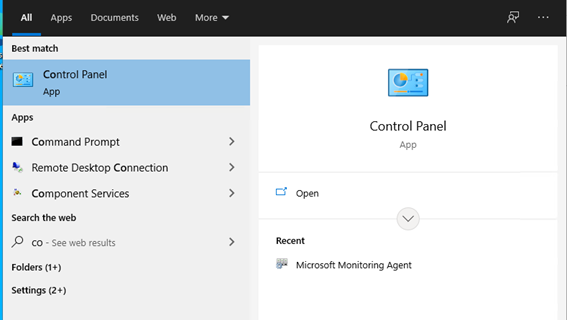
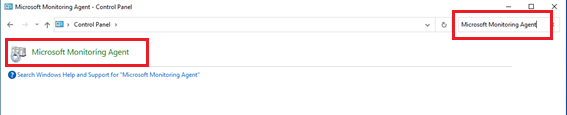
2.サーチバーに[ Microsoft Monitoring Agent ]と入力し、アイコンを開きます。
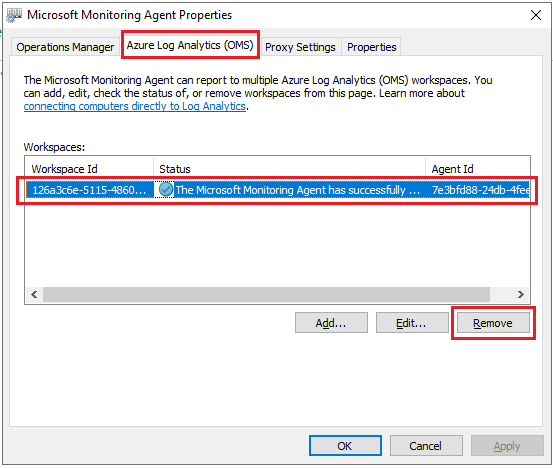
3.上タブの[ Azure Log Analytics (OMS) ]を選択し、現在接続中のWorkspaces Idを[ Remove ]します。
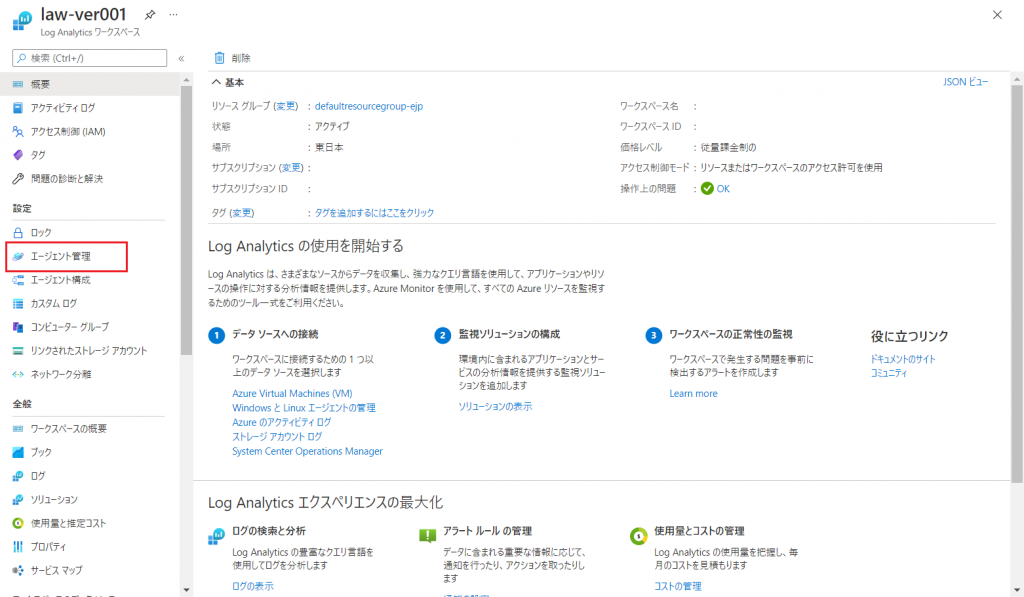
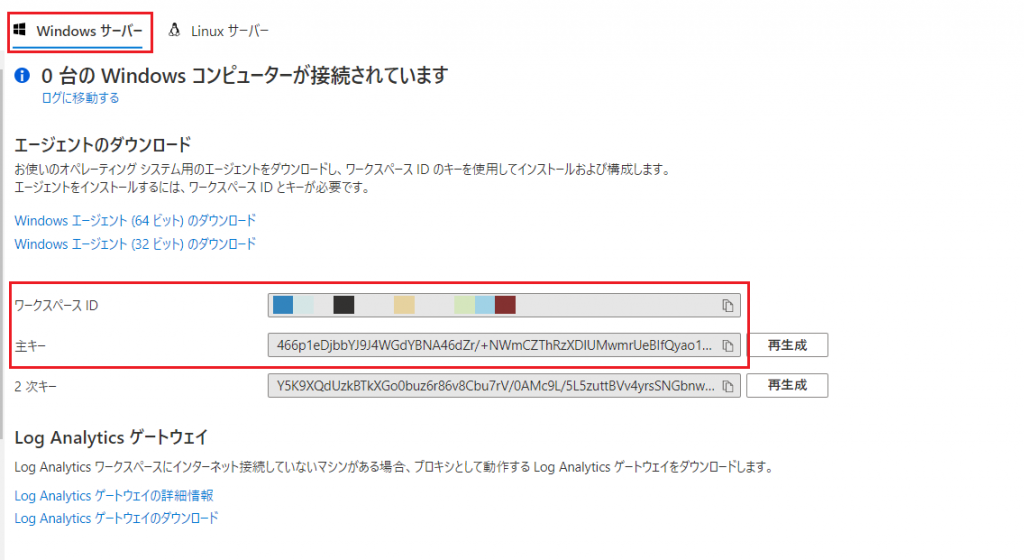
4.次にAzure Portalを開き、新しく設定する方のLog Analytics Workspacesの画面に移り、
画面左ペインの[ 設定:エージェント管理 ]を開きます。
5.今回はWindowsPCなので、Windowsサーバーの[ ワークスペース ID ]と[ 主キー ]をコピーします。
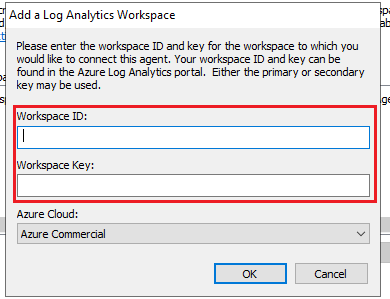
6.VMに戻り、先ほどの画面の[ Add… ]を選択し、表示された画面に先ほどコピーした[ ワークスペース ID ]と[ 主キー ]をペースト。OKを押下します。
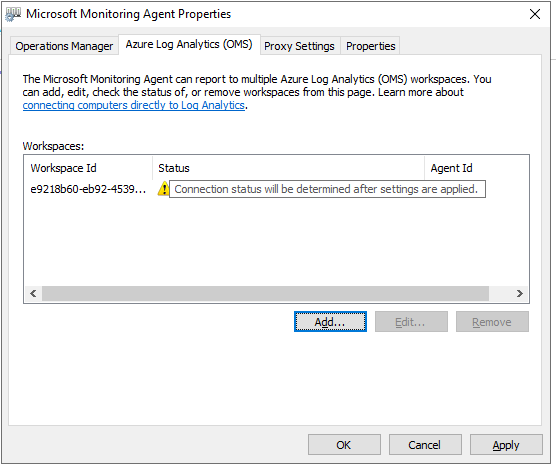
7.登録されると以下の画面になります。(この時点ではStatusに警告マークが出ています。)
以上が、VMのInsghtで設定したLog Analytics Workspacesを別のWorkspacesに変更する方法になります。
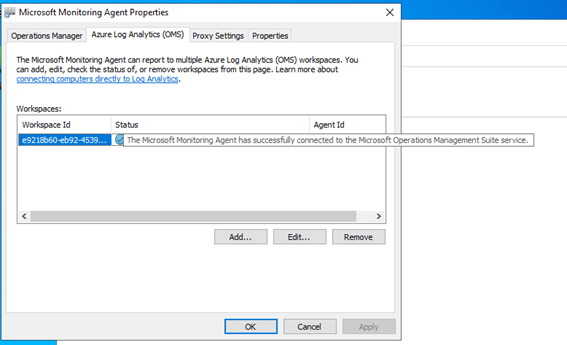
(8.再度[ Microsoft Monitoring Agent ]を開くと、Statusが変わります。)
 (この記事が参考になった人の数:1)