この記事は更新から24ヶ月以上経過しているため、最新の情報を別途確認することを推奨いたします。
はじめに
本記事ではAzure MonitorとLogic Appsの連携について記述したいと思います。Azure Monitorでのアラートではアラートメールのカスタマイズが基本的には不可能であるため、アラートメールのカスタマイズを実現する為に、Logic Appsとの連携についての検証を実施しました。
前提条件
本記事では以下を前提として記述を進めたいと思います。
・Logic Appsのリソースが作成済みであること
・Logic Appsと連携したい(メール通知したい)Azure Monitorのアラートルールが作成済みであること
・アラートメールの送信元として設定するメールアドレスがMicrosoft 365(Exchange Online)のアドレスであること。
作業概要
作業概要は以下の通りです。
①Logic Appsの編集
②Azure Monitor アクショングループの作成
③アラートルールとアクショングループの関連付け
④動作確認
作業手順
①Logic Appsの編集
・Azure Portalにログインし作成済みのLogic Appsリソースの「ロジックアプリデザイナー」を開きます。
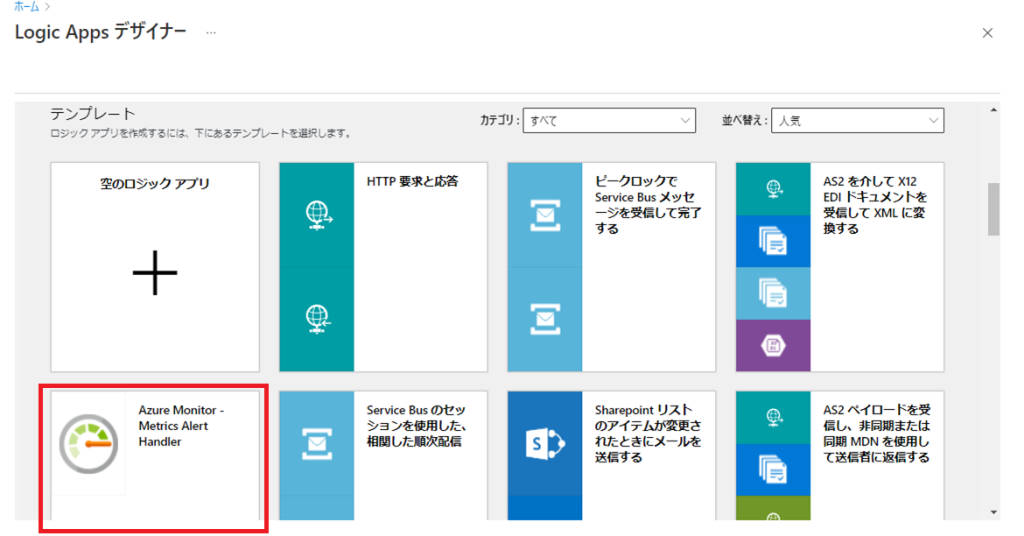
・「テンプレート」の「Azure Monitor Metrics Alert Handler」を選択します。
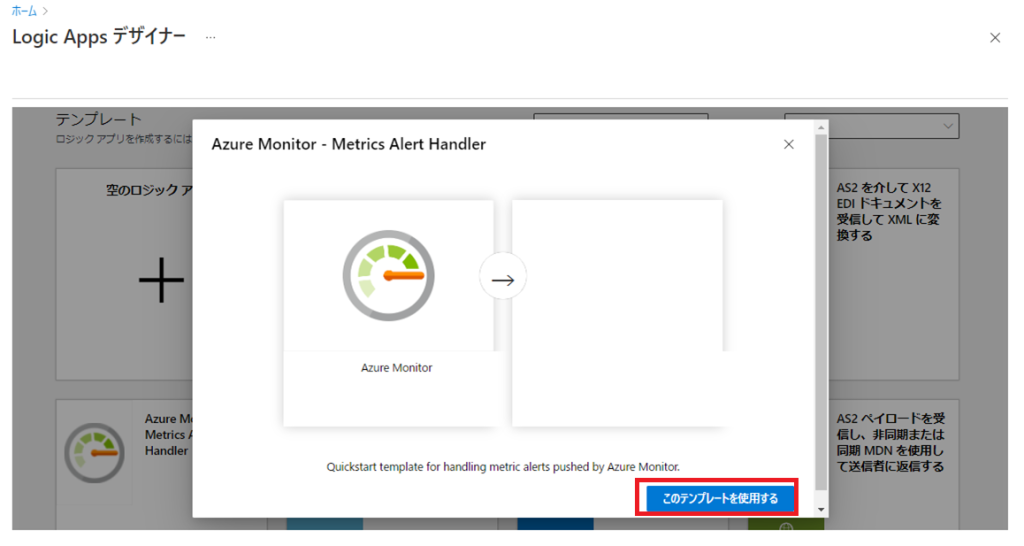
・「このテンプレートを使用する」をクリックします。
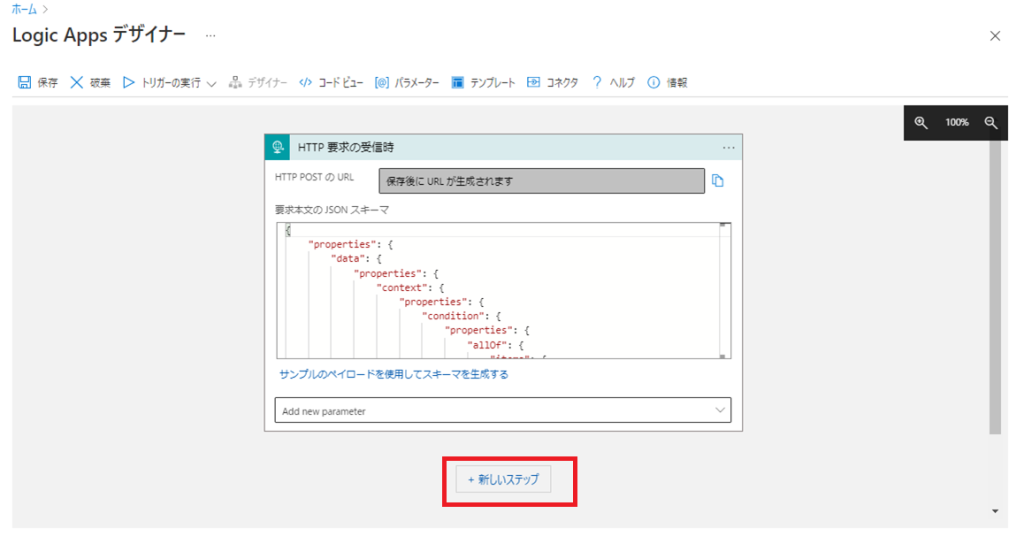
・「新しいステップ」をクリックします。
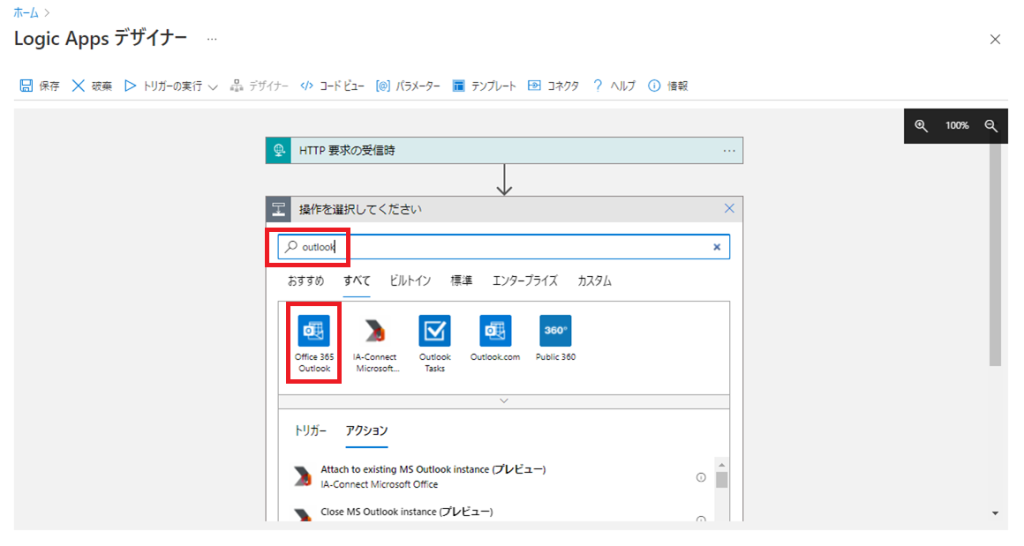
・「Outlook」と検索し、「Office 365 Outlook」を選択します。
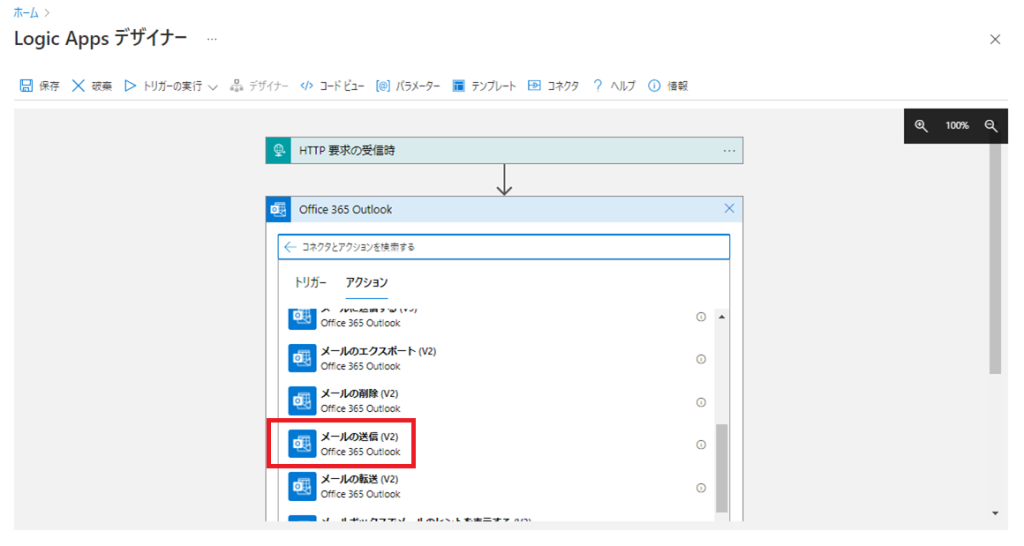
・「メールの送信」を選択します。
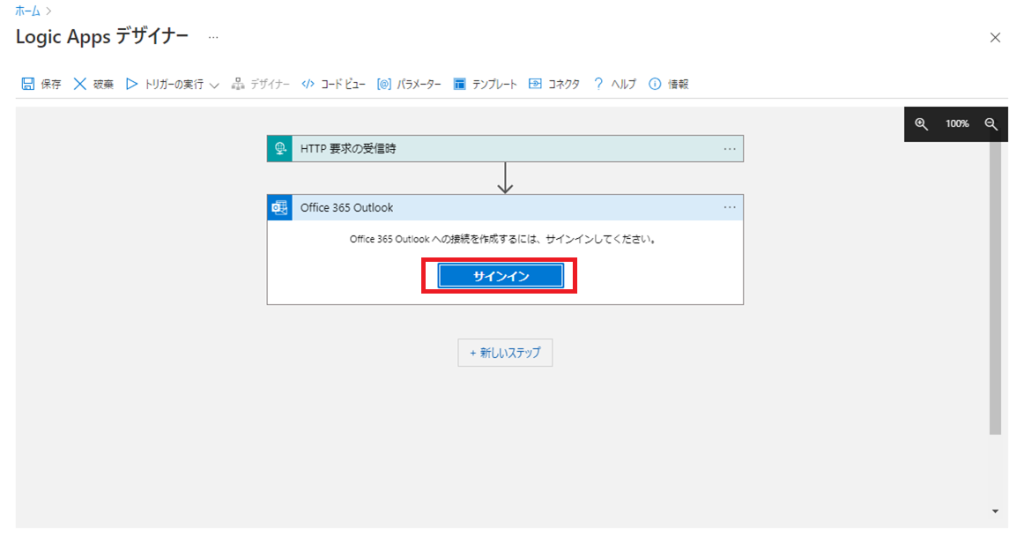
・「サインイン」をクリックします。
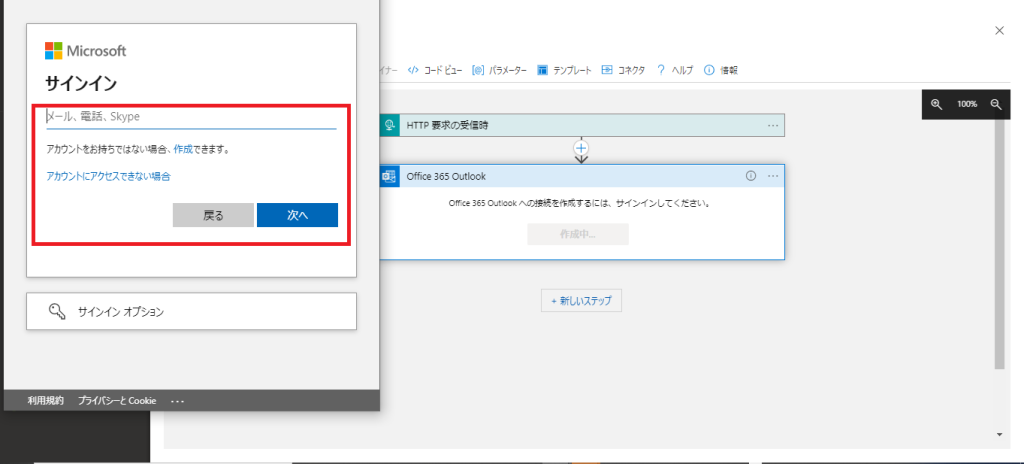
・アラートの送信元とするMicrosoft 365のアカウントでログインします。
・宛先アドレス、件名、本文を入力し「保存」をクリックします。

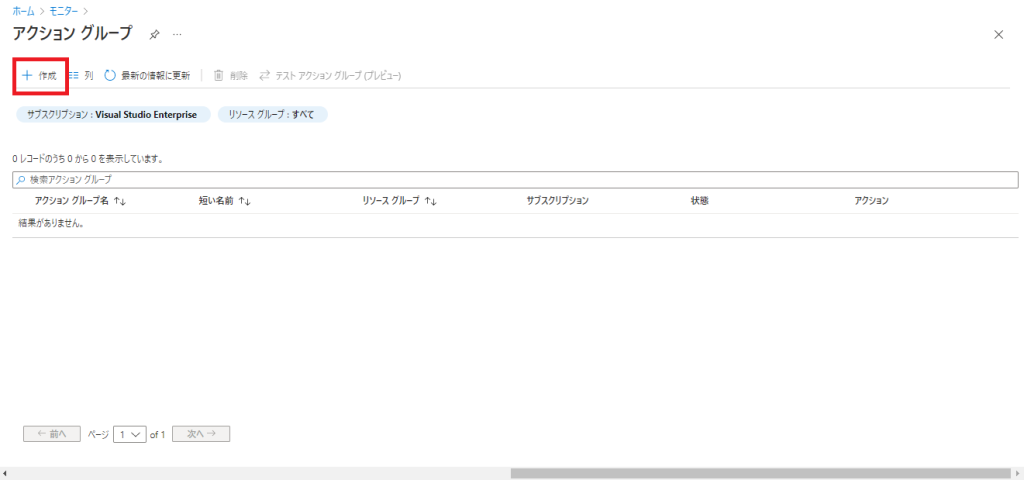
②Azure Monitor アクショングループの作成
・Azure Monitorのアクショングループの一覧画面を開き、「作成」ボタンをクリックします。
・以下について任意の値を入力し、「次へ:通知」をクリックします。
・リソースグループ
・アクショングループ名
・表示名
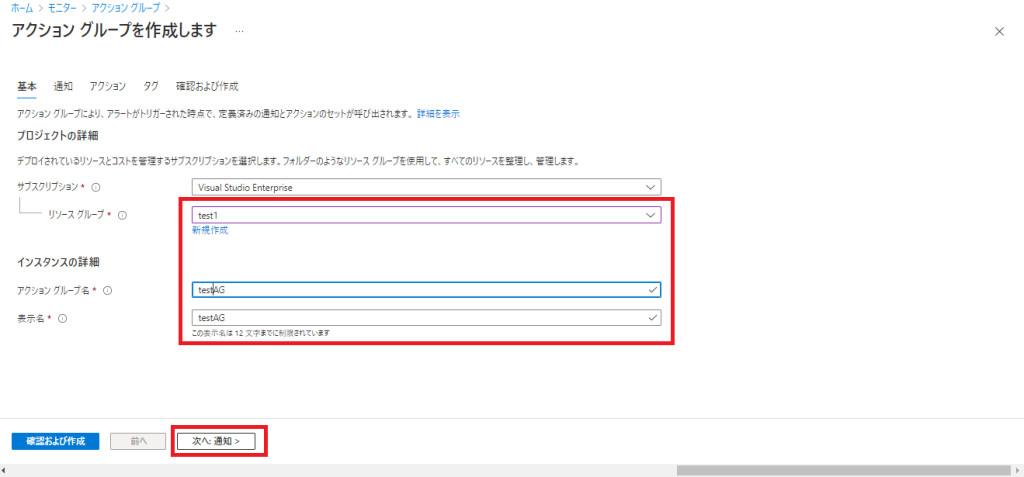
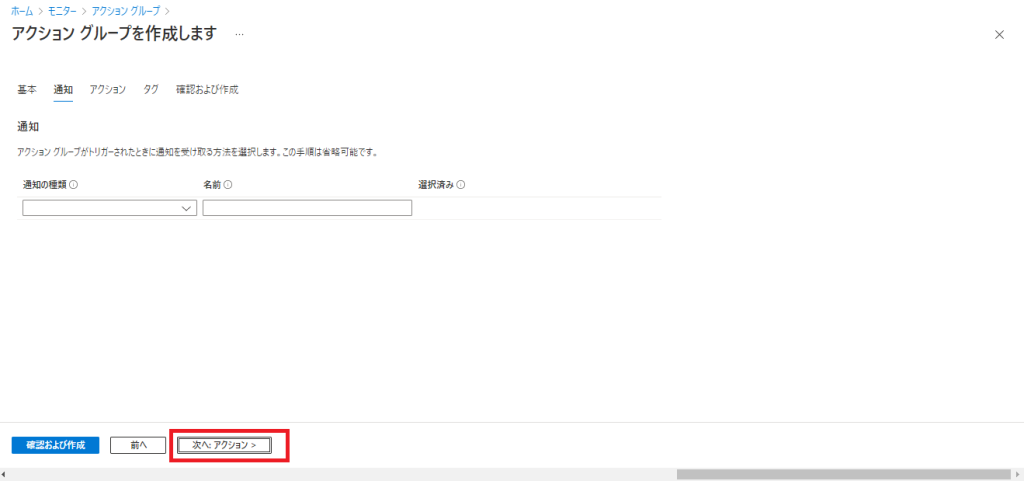
・「次へ:アクション」をクリックします。
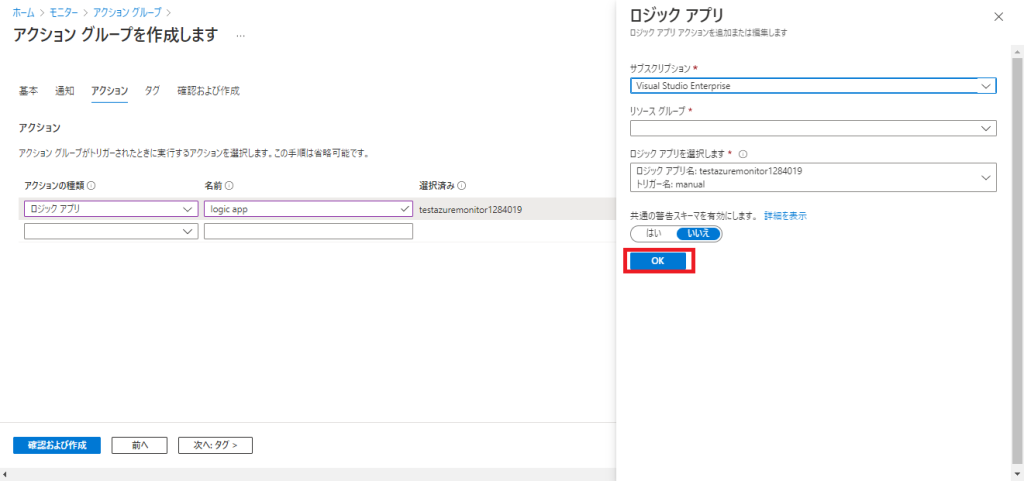
・「アクションの種類」にて「ロジックアプリ」を選択します。
「名前」に任意の名称を入力します。
右画面の「リソースグループ」にて、先程編集したLogic Appsリソースが存在するリソースグループを選択肢、「ロジックアプリを選択します」欄に先程編集したLogic Appsリソースを選択します。
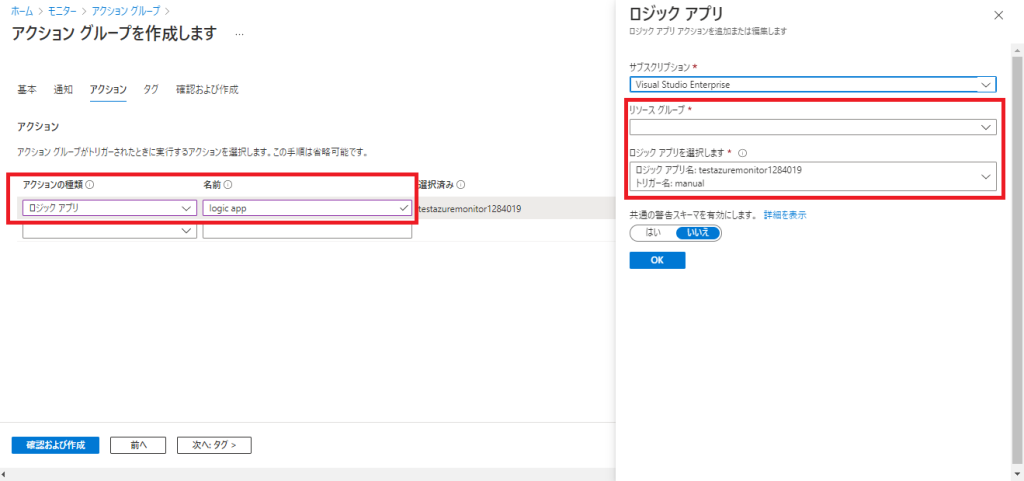
・「OK」をクリックします。
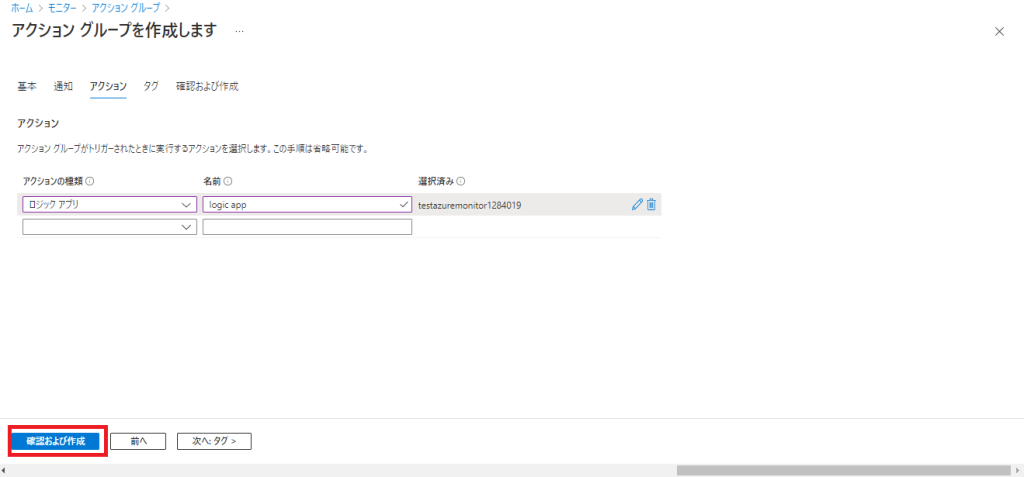
・「確認および作成」をクリックします。
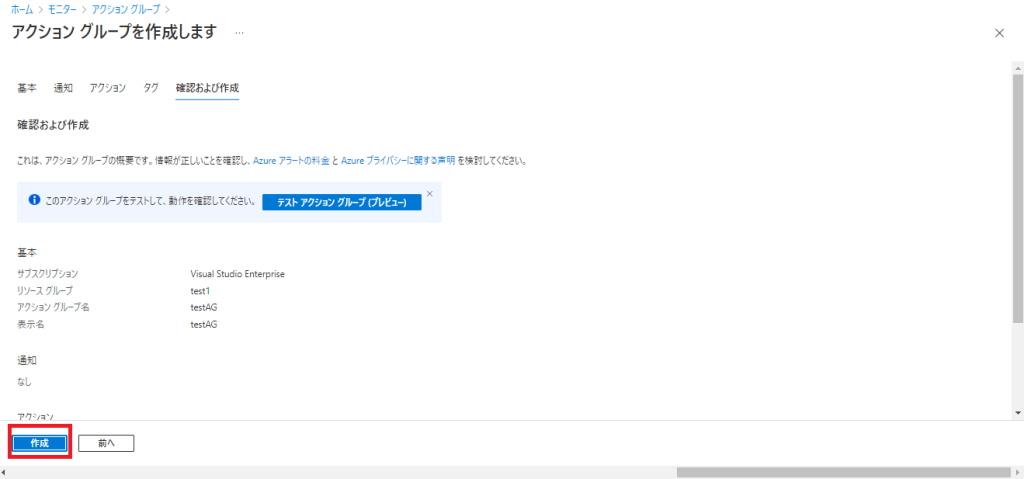
・「作成」をクリックします。
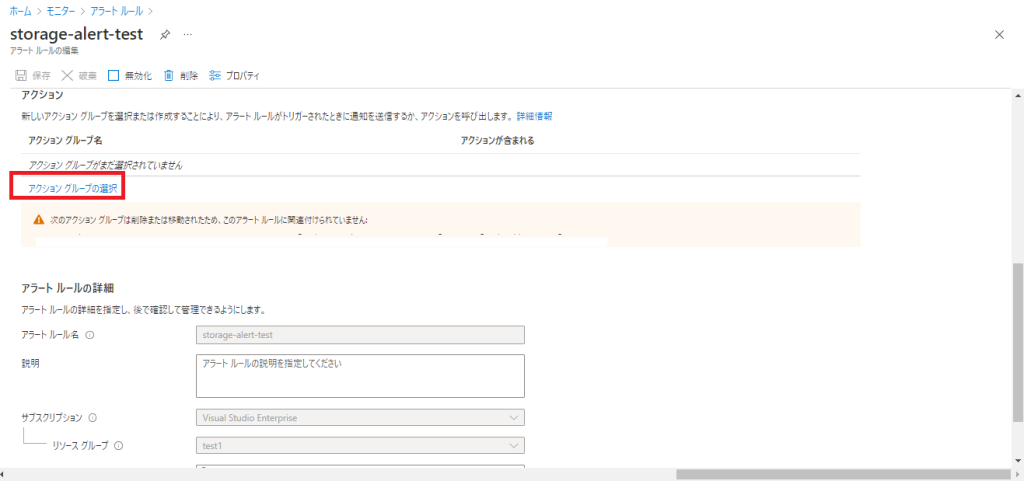
③アラートルールとアクショングループの関連付け
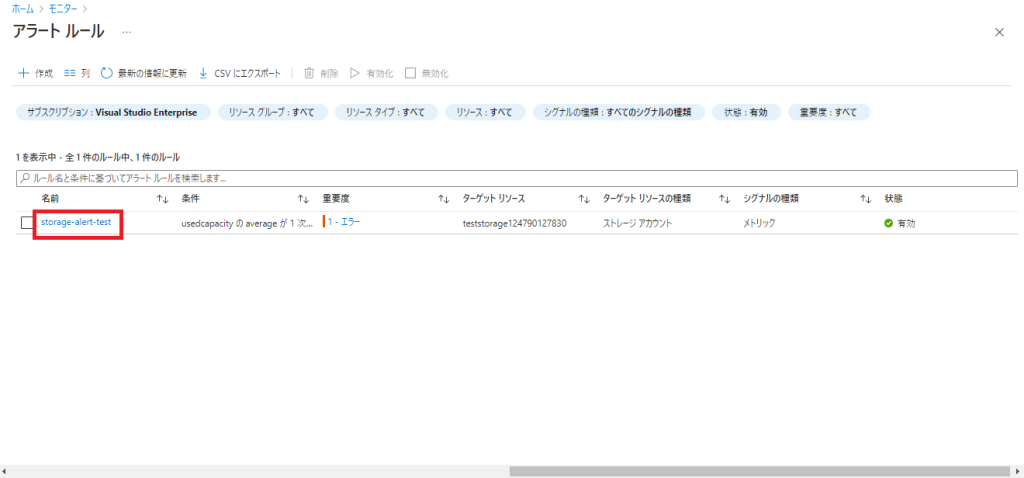
・Azure Monitorのアラートルールの一覧画面を開き、先程作成した「アクショングループ」を関連付ける「アラートルール」をクリックします。
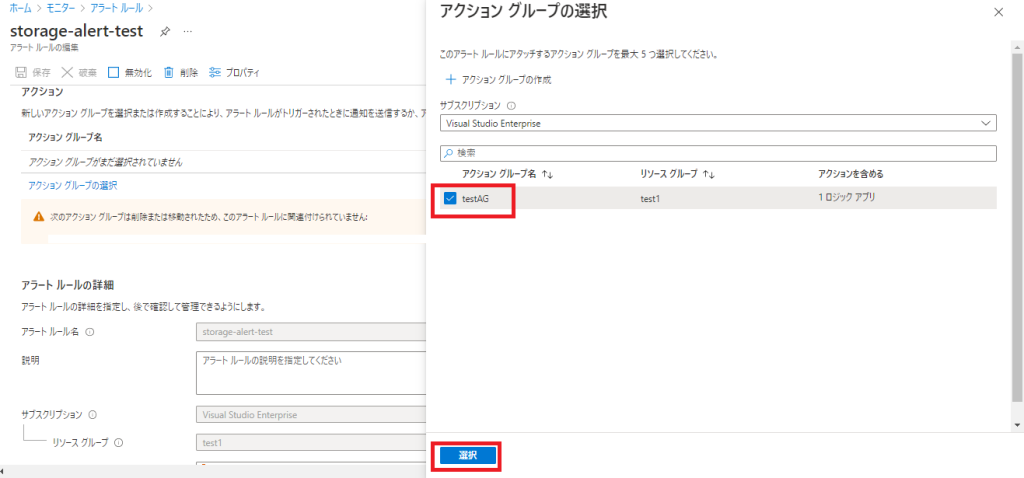
・「アクショングループの選択」をクリックします。
・「アクショングループ」にチェックを入れ、「選択」をクリックします。
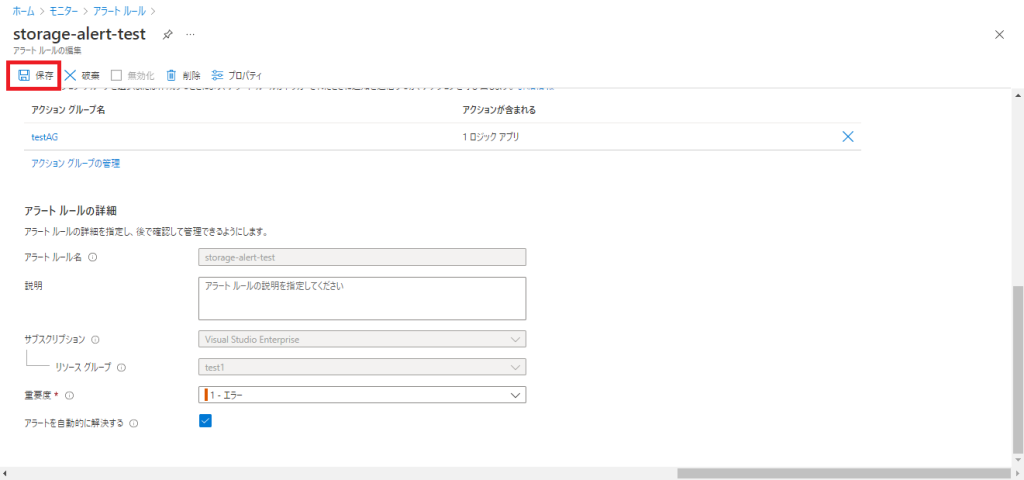
・「保存」をクリックします。
④動作確認
・アラート条件を満たした際に、設定した通りの送信元メールアドレスからアラートメールが通知されることを確認します。以下はサンプルメールです。

最低限の設定ではありますが、以上のように進めることでAzure Monitorのアラートメールのカスタマイズが可能であることを確認することができました。アラートメールをカスタマイズする際の一つの方法として参考としていただければ幸いです。
 (この記事が参考になった人の数:2)